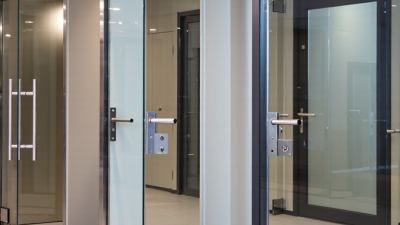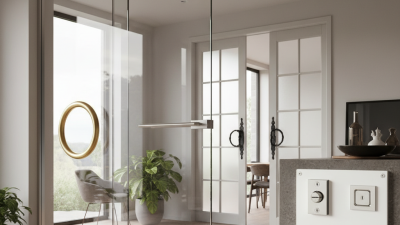
Choosing glass door hardware is about more than matching a finish to a room. The right fittings must suit the glass thickness, door weight, opening style, and frequency of use. A shower door, an office partition, and a frameless entry door each place different demands on their hinges, handles, and clamps. Small details matter. A handle that feels comfortable in the hand can still be poorly placed if it strikes a wall or restricts access.
Start with the door itself. Confirm its dimensions, glass type, and mounting conditions before comparing hardware. Then consider daily use: Will the door swing, slide, or remain fixed? Will users carry bags or need an easy grip? These practical questions help narrow choices and reduce avoidable installation problems. Appearance matters, too, but it should not outrank fit, function, and dependable support.
One requested detail needs verification: no source was provided for a named expert’s quotation, so I can’t responsibly attribute a statement to a real specialist. A sourced quotation can strengthen this introduction once an expert and original reference are confirmed. For now, use the guide to assess materials, finishes, load compatibility, installation requirements, and maintenance needs. Check the manufacturer’s specifications, and ask a qualified installer about site-specific constraints. Even careful planning can miss something. Recheck measurements before ordering; a few millimeters can change the fit.
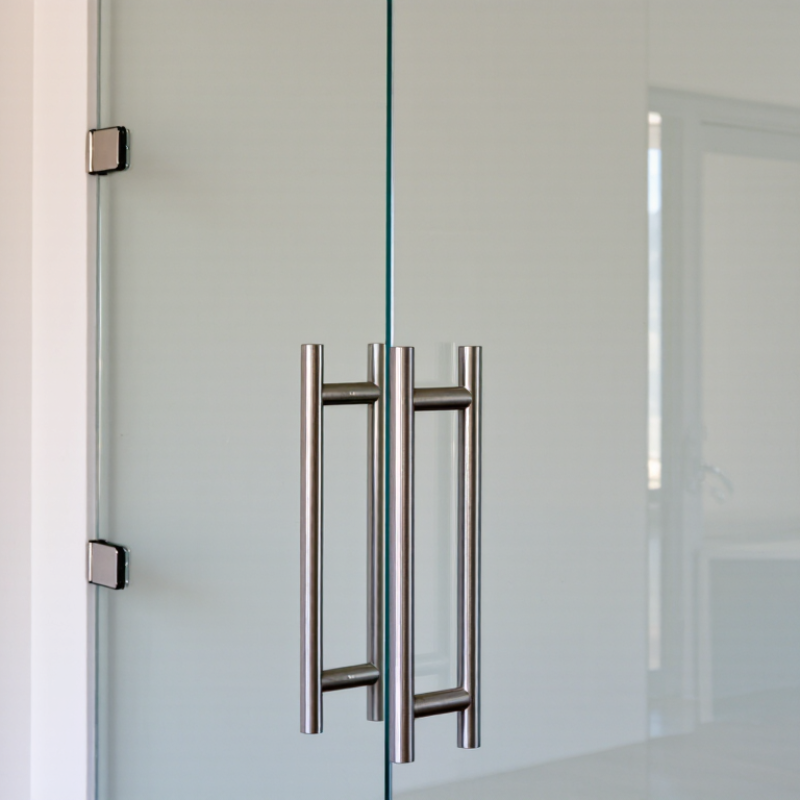
Before choosing glass door hardware, verify the glazing itself meets the applicable safety standard. ANSI Z97.1 classifies glazing by impact performance: Class A is tested at 400 foot-pounds, while Class B is tested at 150 foot-pounds. Federal regulation 16 CFR 1201 uses similar thresholds for Category II and Category I glazing, respectively. These figures come from the standards’ impact-test requirements; they are not a guarantee that every installed door will perform identically. Check the project’s building-code requirements, because the required category can depend on the glass location and use.
Look for permanent safety-glazing marks on the glass, then request documentation identifying the standard, classification, and tested product configuration. A certificate for a pane may not cover a different thickness, laminate, or altered opening. Hardware matters, too: oversized holes, tight clamps, or uneven setting blocks can create stress at the glass edge. A label can be overlooked. During installation, inspect the corners and edges for chips before fitting hinges or handles, and follow the glazing supplier’s specified clearances. ANSI Z97.1 and 16 CFR 1201 address glazing impact performance, not every detail of a complete door assembly; confirm hardware compatibility with the manufacturer’s technical documents and the local code authority.
How to Choose Glass Door Hardware?
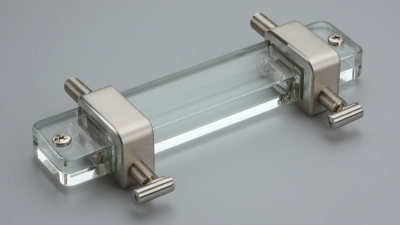
Measure the glass itself before choosing clamps, hinges, or channels. Frameless doors commonly use 10 mm or 12 mm panels. ASTM C1048-22, a technical specification for heat-treated flat glass, includes both as nominal thicknesses. Nominal does not mean your panel measures exactly that. Check an exposed edge with a caliper, and repeat at several points. Avoid squeezing the tool against the glass. A small mismatch can make hardware sit unevenly or fail to grip securely.
Then compare your measurements with the hardware’s stated thickness range. Measure the bare glass, not a frame or protective packing. If the panel has coatings, note them; they can affect the clamping fit. Also check the door’s size and weight against the fitting’s capacity. A 12 mm panel is heavier than a 10 mm panel of the same dimensions. The difference is easy to overlook. A clean-looking fit can still be misleading, so confirm the specification before drilling or installation. If measurements vary, pause and ask a qualified glass professional to verify them.
A glass door’s weight is only one part of the hardware decision. Check the published rating for the exact hinge or clamp model, then confirm it supports your door’s thickness and dimensions. A tall, wide panel can place more leverage on its fittings than a smaller panel of equal weight. Ratings are not guesses.
Also check what the rating covers. Some specifications apply to one fitting; others describe a complete set with a stated number of hinges. Do not simply add individual ratings unless the manufacturer says that calculation is valid. Confirm the required fitting count, spacing, and mounting surface. A clamp attached to a weak frame may not perform as expected, even when its rating looks sufficient. I’ve seen this detail overlooked on otherwise careful installations.
Tips: Weigh the finished door, including attached handles, and compare it with the published limit. Leave a safety margin rather than choosing hardware at its maximum rating. If the documentation is unclear, ask a qualified installer to verify compatibility before ordering.
When choosing glass door hardware, check the clear opening—not just the door panel’s advertised width. The 2010 ADA Standards generally require at least 32 inches of clear width at an accessible doorway. For a swinging door, measure with it open 90 degrees, from the door’s face to the opposite stop. Small details matter. A wide glass panel can still leave too little room if the frame, stop, or door position narrows the passage.
Hardware affects how comfortably people can use the opening. Check that handles, pulls, and locks do not obstruct the usable passage or require tight grasping or twisting. Also consider the approach: a wheelchair user needs room to reach the handle and move through without catching a hand or foot on nearby hardware. Measure the finished installation, not only the plans. Measure the opening. If the doorway is deeper than 24 inches, ADA requirements may call for 36 inches of clear width; confirm the applicable standard and site conditions with a qualified access professional. I have seen this detail overlooked when hardware is selected late, after the frame size is fixed. That sequence can make corrections awkward.
| Selection Check | Relevant ADA Standard | What to Measure or Verify | Practical Hardware Guidance |
|---|---|---|---|
| Clear doorway width | At least 32 inches of clear opening. Doorways more than 24 inches deep require at least 36 inches of clear opening. | For a swinging door, measure between the door face and the stop with the door open 90 degrees. Do not rely on the nominal door-panel width. | Check the installed opening with the selected door, frame, stops, and hardware in place. Confirm that projections do not reduce the required clear passage. |
| Hardware operating height | Operable parts of door hardware generally must be located 34 to 48 inches above the finished floor or ground. | Measure to the operable part, such as the grip or control, rather than to the center of the glass panel. | Position handles, pulls, and locks within the permitted reach range, and check the final installed position. |
| Ease of operation | Operable parts must be usable with one hand and must not require tight grasping, pinching, or twisting of the wrist. The general maximum operating force for operable parts is 5 pounds. | Test the hardware’s normal operation, including latching and unlocking, without requiring a user to grasp or twist a small control tightly. | Choose a usable grip or lever-style control and verify the installed hardware operates smoothly. Confirm any applicable product and local-code requirements. |
| Door closer timing | Where a closer is provided, the door must take at least 5 seconds to move from an open position of 90 degrees to a position 12 degrees from the latch. | Time the closing movement after installation and adjustment. | Specify an adjustable closer and have it set and checked on the completed door assembly. |
| Threshold at the doorway | A threshold may be no higher than 1/2 inch. Changes in level greater than 1/4 inch must be beveled; the bevel may not be steeper than 1:2. | Measure the height difference across the threshold and check the transition profile. | Coordinate the glass-door bottom rail, floor finish, and threshold so the finished transition stays within the permitted limits. |
ADA requirements can depend on the door type and installation. Verify the completed doorway against the applicable ADA Standards and any governing local code.
When comparing corrosion-resistant finishes, ask for the ASTM B117 salt-spray report, not just a claim that a finish is “tested.” The report should identify the coating, test duration, substrate, and evaluation method. ASTM B117 describes a controlled salt-fog exposure; it does not predict exactly how many years hardware will last in a bathroom or near the coast.
Compare results on matching materials and test conditions. A plated brass handle and a coated steel hinge are not direct equivalents, even if both reports list the same exposure hours. Check how corrosion was scored, and whether red rust, blistering, or damage around edges counted as failure. Details matter. Salt can collect near screw heads, cut edges, and the bottom of a hinge, where a flat test panel may tell only part of the story.
More hours can indicate stronger test performance, but they do not translate neatly into service life. Installation quality, cleaning products, and frequent moisture also affect durability. A useful report may still leave questions unanswered. Ask whether the tested sample included fastener holes or exposed edges, and treat missing details as a reason to compare cautiously, not as proof of poor quality.